How to Get Custom Sabers in Beat Saber Quest 2: Ultimate Guide
Welcome to the world of custom Beat Saber gameplay, where the rhythm gets personal! Today, we’re diving into the virtual depths to teach you how to get custom Sabers in Beat Saber for Oculus Quest 2. Before we begin, ensure that you have the following:
- Oculus Quest 2 VR headset
- Beat Saber game installed
- USB-C cable for connecting your Quest 2 to PC
- A PC or Mac
Is Customization Safe and Allowed?
First and foremost, let’s address the elephant in the VR room. Is it safe to customize your Beat Saber experience with custom sabers? And more importantly, does it comply with the game’s terms of service? The answer is nuanced:
| Safety | Compliance |
|---|---|
| Custom sabers are generally safe to use if downloaded from reputable sources. Be cautious of malicious software. | While not officially endorsed, the Beat Saber community widely accepts mods. However, you should be aware of the potential risks, including voiding warranties or terms of service conflicts. |
Note: The modding community operates in a legal grey area. Use mods at your own risk and always back up your data.
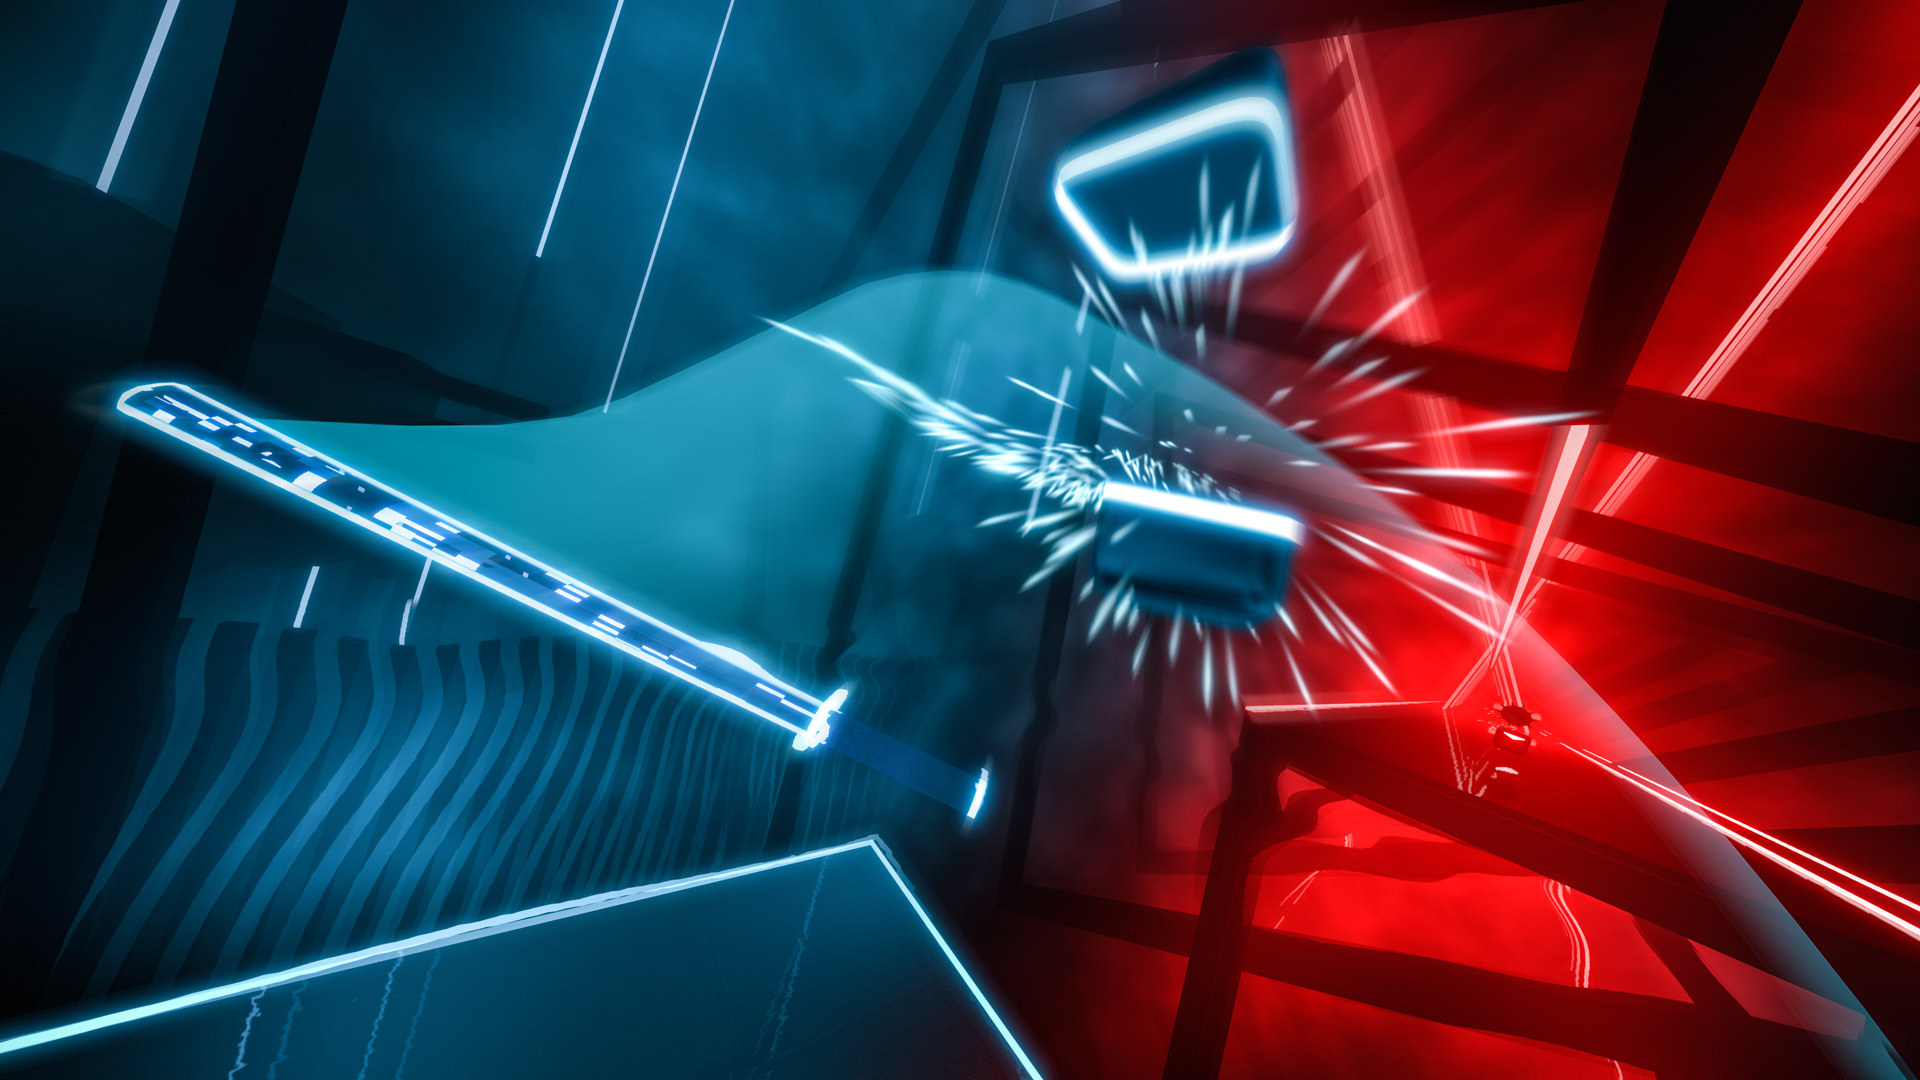
Credit: www.roadtovr.com
Step by Step: Installing Custom Sabers on Quest 2
Step 1: Enable Developer Mode
To get started, you’ll need to enable Developer Mode on your Quest 2:
- Open the Oculus app on your smartphone.
- Navigate to Settings, then select your Quest 2 headset.
- Tap on More Settings and then select Developer Mode.
- Toggle the developer mode to ON.
Step 2: Install Sidequest
SideQuest is a platform that allows you to sideload apps and mods onto your Quest 2. Here’s how to install it:
- Download SideQuest from https://sidequestvr.com/
- Install and launch SideQuest on your PC/Mac.
- Connect your Quest 2 to your PC/Mac using the USB-C cable.
- Follow the on-screen instructions in SideQuest to connect your device.
Tip: Make sure to allow USB debugging permissions when prompted on your Quest 2.
Step 3: Download Beat Saber Modding Tools
With SideQuest ready, it’s time to download modding tools for Beat Saber:
- On SideQuest, search for BMBF, a Beat Saber mod injector for the Quest.
- Download and install BMBF onto your Quest 2.
Step 4: Accessing Custom Sabers
Now that BMBF is installed, here’s how to access and download custom sabers:
- Launch BMBF on your Quest 2.
- Follow the on-screen instructions to patch Beat Saber.
- In BMBF, navigate to the Browser tab and go to sites such as Bsaber.com.
- Search for custom sabers and download them directly through BMBF.
- After downloading, click on the Sabers tab in BMBF to activate your custom sabers.
And there you have it! You are now ready to slice to the rhythm with your custom sabers. Just remember, always verify the sources of your downloads, and enjoy your modded Beat Saber experience responsibly.
Read More – What Difficulty Do You Play Beat Saber On?: Master Moves!
Frequently Asked Questions On How To Get Custom Sabers In Beat Saber Quest 2: Ultimate Guide
Can Beat Saber Quest 2 Support Custom Sabers?
Custom sabers are indeed compatible with Beat Saber Quest 2, primarily via modding communities that offer custom content.
Where To Find Custom Sabers For Beat Saber?
Players can find a variety of custom sabers on modding sites like BeastSaber or through dedicated Beat Saber modding forums and Discord channels.
How To Install Custom Sabers On Quest 2?
To install custom sabers on Quest 2, you’ll need to use a program like BMBF to patch Beat Saber and manage your custom content directly from your headset.
Is Modding Beat Saber Quest 2 Safe?
Modding Beat Saber on Quest 2 is widely done, but it can carry risks like voiding warranties or leading to game instability if not done carefully.


